A place for me to share random things
Some of these things may be of interest. Otherwise, nothing to see here.
nothingtoseehere
Project - Gaming PC Build in a Sun Ultra 24 Case
Why?
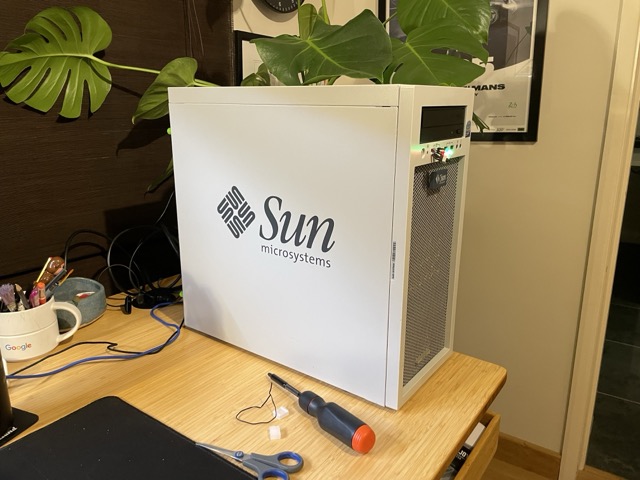
I really like the style of these cases which date back to around 2007. They have great airflow through the giant front grille and are ATX compatible which makes for a relatively easy build.
Sourcing a near-20 year old case
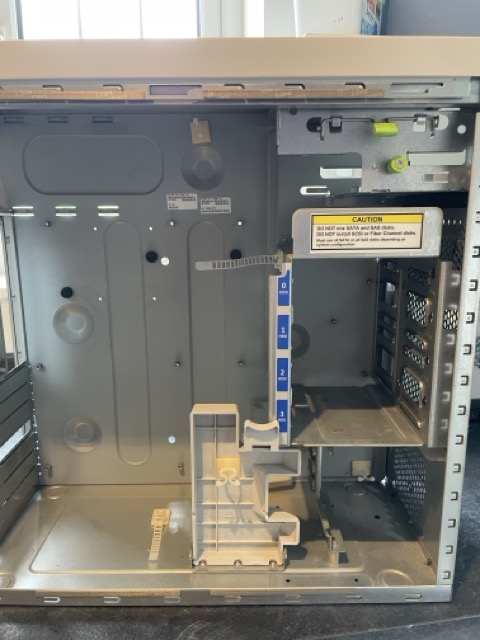
I was able to purchase my ‘bare’ case from Clyde Computers. It arrived in great condition…
 |  |
Note that as a ‘bare’ case it’s missing the front I/O panel. More on that later. Inside, the case was empty but did retain a hard drive cage.
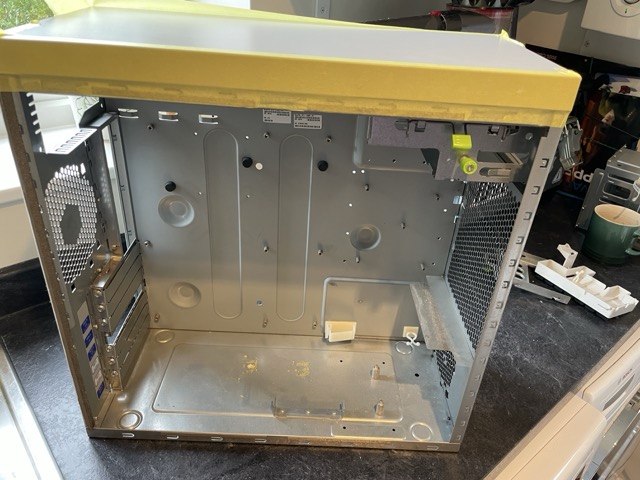
Readying the interior
 |
Removing this cage did require me to drill out a number of rivets. This took a while but once I found the right HSS drillbit it was pretty straightforward. Note the use of masking tape to avoid scratching the paint during the process.
 |
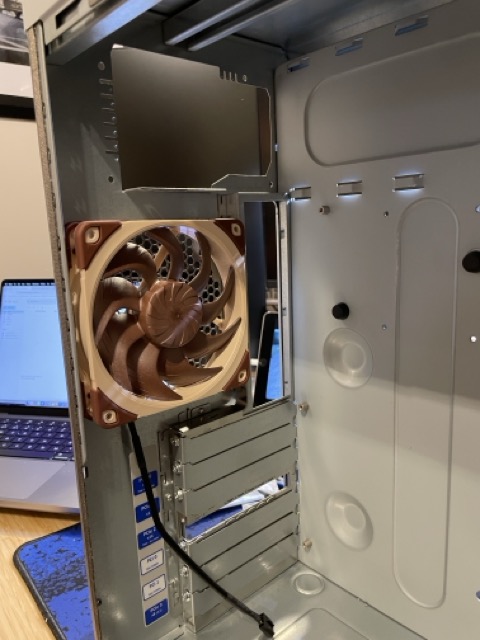
The build
I started by fitting some fans. After some measuring I went with:
- Noctua NF-A14x25 G2 PWM - 140mm intake for the front of the case
- Noctua NF-A9 PWM - 92mm intake, also for the front of the case
- Noctua NF-A12x25 G2 PWM - 120mm exhaust for the rear, along with…
- Corsair HXi Series HX1000i - power supply and other exhaust
 |  |
The original Sun Ultra 24 (as far as I can tell) shipped with a black DVD drive which doesn’t quite fit with the aesthetic but in the interests of ‘originality’ I sourced a used drive from eBay. I was keen to get one that was plain black with no white text on it to achieve the original look.
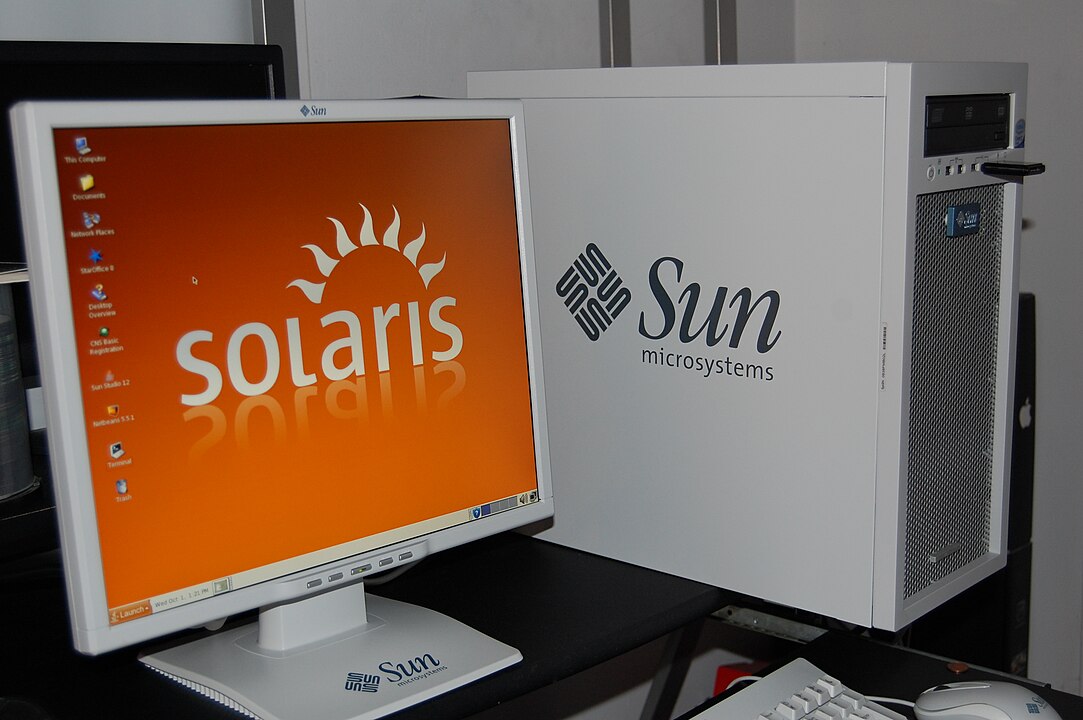 |
Jainux - Own work, CC BY-SA 3.0
After that, I built up the motherboard and did a test fit. All of the mounting points aligned but there were a couple of rubber mounts which I had to remove for the board to fit flat.
Finishing up
The case didn’t come with motherboard screws and so I had to source those separately. Then I could install the motherboard, GPU and connect the requisite cables. I ended up with this and it POSTed without any issues.
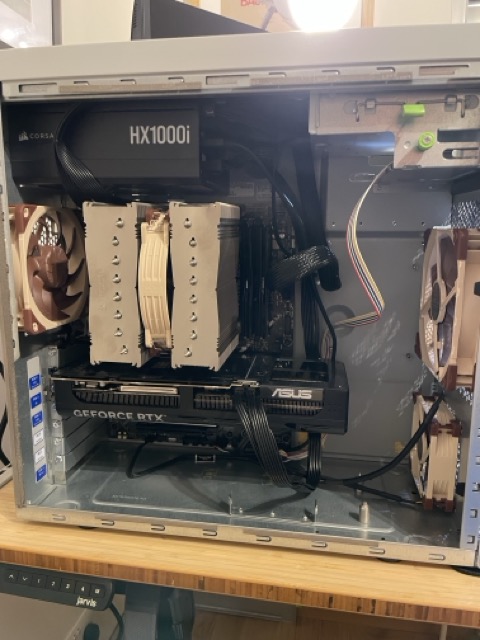 |
I went for:
- Asus GeForce RTX 5080 Prime OC 16GB Graphics Card
- AMD Ryzen 7 9800X3D Eight Core 5.20GHz Processor
- G.Skill Trident Z5 Neo EXPO (2x16GB) DDR5 6000MHz Dual Channel memory
- Crucial T705 1TB NVMe PCIe M.2 Solid State Drive
- Asus PRIME X870-P DDR5 ATX Motherboard
- Noctua NH-D15 G2 LBC Dual Tower CPU Cooler
The next challenge was the lack of the I/O panel. Unfortunately this also houses the power button as well as firewire and USB sockets. If I had it there are pin-outs online which allow it to be used. However without it I added some microswitches for power and reset buttons along with some LEDs and had them exit a Firewire port as a short-term solution.
 |
I plan to 3D print a new front-panel to make the power button, USB-A sockets and LEDs work as they should and to add USB-C to the firewire slots.
Next steps
To complete the build I need to:
- Do some internal cable management, the USB interface for the PSU is too short and looks very untidy. That said it may not really be needed.
- Make the IO panel
- Paint the front fans black as the famous Noctua colours are quite visible through the mesh
- Consider adding some kind of dust filtering as the case doesn’t have any
Conclusion
This project was pretty straightforward and I achieved the look I was going for.